Java Text Editor – Create the Right Text Editor for Your Needs
In this project, we will be building a text editor using Java Swing. The text editor will have basic functionalities such as opening, saving, and editing text files, as well as changing the font size and font of the text.
About Java Text Editor
The objective of the Text Editor is to provide a basic understanding of how to create a text editor using Java Swing and to familiarize ourselves with the various components used in building a graphical user interface (GUI) application in Java.
Prerequisites for Text Editor using Java
To follow along with this project, you should have basic knowledge of Java programming and a development environment set up.
IDE used is Eclipse Version: 2022-09 (4.25.0)(You can use any other IDE or java Text Editor)
Download Java Text Editor Project
Please download the source code of Java Text Editor project from the following link: Java Text Editor Project Code
- Language used: Java
- Coding Tool used: Eclipse IDE
- Type: Desktop Application
- Database used: None
Steps to Create Text Editor using Java
Following are the steps for developing the Java Text Editor project:
Step 1: Importing Libraries
The first step in building our text editor is to import the necessary libraries. We will be using the following libraries in this tutorial:
package com.FirstCode;


import javax.swing.*;
import javax.swing.event.ChangeEvent;
import javax.swing.event.ChangeListener;
import javax.swing.filechooser.FileNameExtensionFilter;
import java.awt.*;
import java.awt.event.*;
import java.io.*;
Step 2: Initializing Text Area, Scroll Pane, and Menu Bar
In this step, we will initialize the text area, scroll pane, and menu bar which will be used in our application.
//Text Area for the app
private JTextArea textArea;

//scroller to scroll if the text overflows
private JScrollPane scrollPane;

//menu bar to hold menu items
private JMenuBar menuBar;

//file menu while holds the open,save and close options
private JMenu fileMenu;

//Menu items
private JMenuItem openMenuItem;
private JMenuItem saveMenuItem;
private JMenuItem exitMenuItem;
private JFileChooser fileChooser;

//Font size chooser to chage font size
private JSpinner fontSizeSpinner;

//Font Chooser to choose different fonts
private JComboBox fontChooserBox;
Step 3: Setting up the Text Editor’s properties
In this step, we will set the title, size, and default close operation for our text editor.
public TextEditor() {

       setTitle("Text Editor by FirstCode");
       setSize(600, 400);
       setDefaultCloseOperation(EXIT_ON_CLOSE);
         }
Step 4: Initializing and setting up the Text Area
We will initialize the text area and set some properties such as line wrapping and word wrapping to be enabled, and setting the font and size of the text.
// Initialize TextArea
       textArea = new JTextArea();
       textArea.setLineWrap(true); //Will wrap the lines into the visible area
       textArea.setWrapStyleWord(true);// will  enable word wrap
       textArea.setFont(new Font("Arial",Font.PLAIN,20));
Step 5: Initializing and setting up the Scroll Pane
We will initialize the scroll pane with the text area as its viewport, set its preferred size, and set the vertical scrollbar policy to always be enabled.
// Initialize ScrollPane
   scrollPane = new JScrollPane(textArea);
   scrollPane.setPreferredSize(new Dimension(450, 450));
    scrollPane.setVerticalScrollBarPolicy(ScrollPaneConstants.VERTICAL_SCROLLBAR_ALWAYS);
   this.add(scrollPane);
Step 6: Initializing and setting up the font size spinner
We will initialize the font size spinner, set its preferred size, set its initial value to 20, and add a change listener to it so that when its value changes, the font size of the text area is updated.
// Initialize fontSizeSpinner
       fontSizeSpinner = new JSpinner();
       fontSizeSpinner.setPreferredSize(new Dimension(25,25));
       fontSizeSpinner.setValue(20);
       fontSizeSpinner.addChangeListener(new ChangeListener() {
           @Override
           public void stateChanged(ChangeEvent arg0) {
               textArea.setFont(
                       new Font(textArea.getFont().getFamily(), Font.PLAIN, (int) fontSizeSpinner.getValue()));
           }
       });
Step 7: Retrieving the list of available fonts on the system and initializing the font chooser box
We will retrieve an array of available font names on the system using the `GraphicsEnvironment.getLocalGraphicsEnvironment().getAvailableFontFamilyNames()` method and initialize the font chooser box with this array. We will also set the selected item in the font chooser box to be the current font of the text area and add an action listener to it so that when a new font is selected, the font of the text area is updated.
//Getting the list of fonts available on current system
       String[] fonts = GraphicsEnvironment.getLocalGraphicsEnvironment().getAvailableFontFamilyNames();

       //Inititalize the FontChooserBox
       JComboBox fontChooserBox = new JComboBox(fonts);

       fontChooserBox.setSelectedItem(textArea.getFont().getName());
       fontChooserBox.addActionListener(new ActionListener() {
           @Override
           public void actionPerformed(ActionEvent e) {
               textArea.setFont(
                       new Font((String) fontChooserBox.getSelectedItem(), Font.PLAIN, (int) fontSizeSpinner.getValue()));
           }
       });
Step 8: Initializing and setting up the menu bar
We will initialize the menu bar, file menu, and file menu items (open, save, and exit) and add the file menu to the menu bar.
// Initialize MenuBar
  menuBar = new JMenuBar();
  fileMenu = new JMenu("File");
  openMenuItem = new JMenuItem("Open");
  saveMenuItem = new JMenuItem("Save");
  exitMenuItem = new JMenuItem("Exit");

  fileMenu.add(openMenuItem);
  fileMenu.add(saveMenuItem);
  fileMenu.add(exitMenuItem);

  menuBar.add(fileMenu);
  menuBar.add(fontSizeSpinner);
  menuBar.add(fontChooserBox);

  this.setJMenuBar(menuBar);
Step 9: Initializing and setting up the file chooser
We will initialize the file chooser, disable the “All files” option and add a file filter that allows only .txt files to be selected.
// Initialize FileChooser
    fileChooser = new JFileChooser();

    //Setting up the filter to allow only .txt files
    fileChooser.setAcceptAllFileFilterUsed(false);
    fileChooser.addChoosableFileFilter(new FileNameExtensionFilter("Only text files are supported", "txt"));
Step 10: Adding action listeners to the menu items
We will add action listeners to the open, save, and exit menu items to handle the corresponding actions when they are clicked.
// Add ActionListener for openMenuItem
       openMenuItem.addActionListener(new ActionListener() {
           public void actionPerformed(ActionEvent e) {
               int returnVal = fileChooser.showOpenDialog(TextEditor.this);
               if (returnVal == JFileChooser.APPROVE_OPTION) {
                   File file = fileChooser.getSelectedFile();
                   try {
                       BufferedReader reader = new BufferedReader(new FileReader(file));
                       textArea.read(reader, null);
                       reader.close();
                   } catch (IOException ex) {
                       JOptionPane.showMessageDialog(TextEditor.this, "Error reading file", "Error",
                               JOptionPane.ERROR_MESSAGE);
                   }
               }
           }
       });
       // Add ActionListener for saveMenuItem
       saveMenuItem.addActionListener(new ActionListener() {
           public void actionPerformed(ActionEvent e) {
               int returnVal = fileChooser.showSaveDialog(TextEditor.this);
               if (returnVal == JFileChooser.APPROVE_OPTION) {
                   File file = fileChooser.getSelectedFile();
                   try {
                       BufferedWriter writer = new BufferedWriter(new FileWriter(file));
                       textArea.write(writer);
                       writer.close();
                   } catch (IOException ex) {
                       JOptionPane.showMessageDialog(TextEditor.this, "Error saving file", "Error",
                               JOptionPane.ERROR_MESSAGE);
                   }
               }
           }
       });

       // Add ActionListener for exitMenuItem
       exitMenuItem.addActionListener(new ActionListener() {
           public void actionPerformed(ActionEvent e) {
               System.exit(0);
           }
       });
   }
Step 11: Run the application
The final step is to run the project by creating an instance of the TextEditor class and setting it to be visible.
public static void main(String[] args) {
    TextEditor editor = new TextEditor();
    editor.setVisible(true);
}
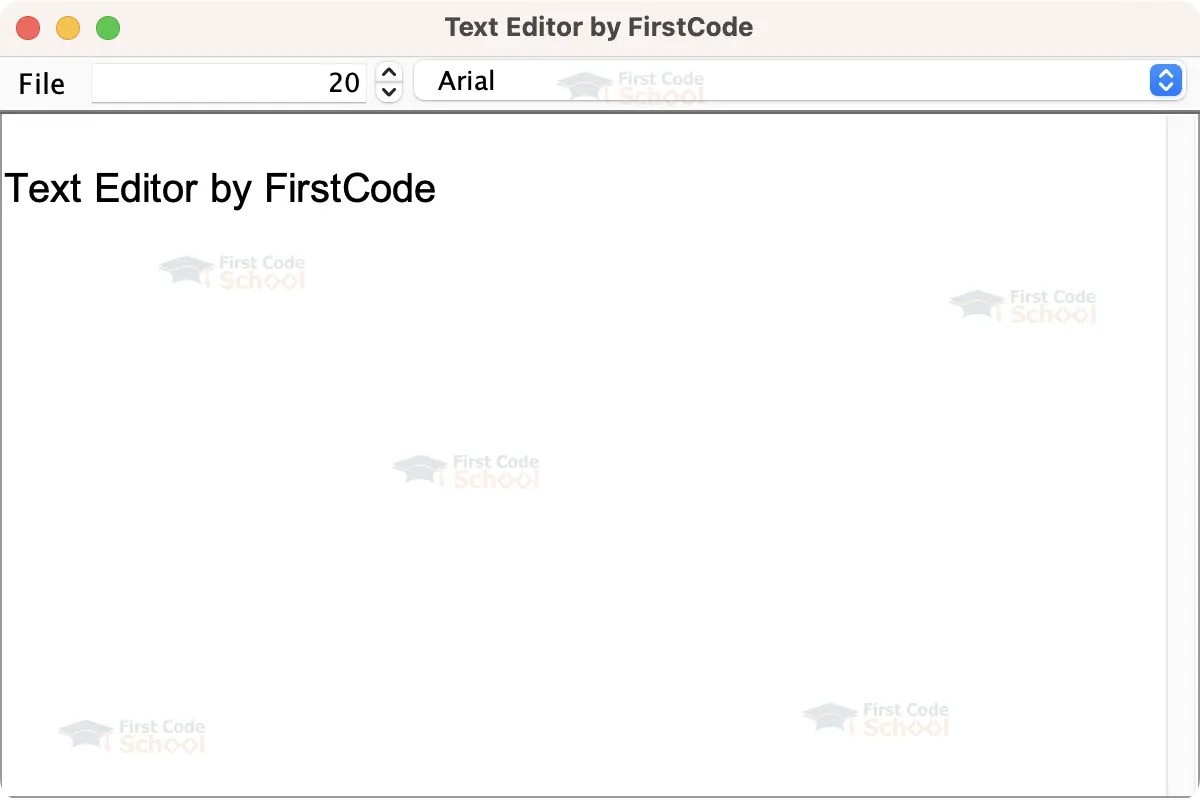
Java Text Editor Output
Summary
In conclusion, we have created a Text Editor project using the Java Swing library. The project allows the user to open, edit and save text files, change the font size and font of the text and has a basic file filter that only allows .txt files to be opened and saved.