How to Verify Java Version?
Java is still a popular and prominent programming language, crossing many years. The reason for being sustainable for many years is adapting to the latest tech changes and providing a well-built version of itself. In this article, we will learn about java versions and methods to verify the java version on your computer.
Java Versions:
Java made its first footprint in 1995. The 1995 release is called the JDK alpha and beta version. The first stable version of Java came out on January 23, 1996. And it is named JDK1.0.2 or Java 1. Now the latest version of Java is Java19, and its release date is September 20, 2022. The upcoming version of Java is Java20. It will be released in March 2023.
How to Verify the Java Version on your computer?
Generally, There are five methods to verify the java version on your computer. They are listed below.
1. Using command prompt.
2. Using the Windows control panel.
3. Using java control panel in Windows, Linux and Mac.
4. Using a Java program.
5. Checking the java version online.
1. Verify Java version Using command prompt:
To check the version of Java on your computer using the command prompt, the commonly used command is
java -version
This command works well for Windows, Mac, and Linux.
If you have Java installed on your computer, you will get an output similar to the one mentioned below. It displays the version you are using, as shown below.
IMAGE
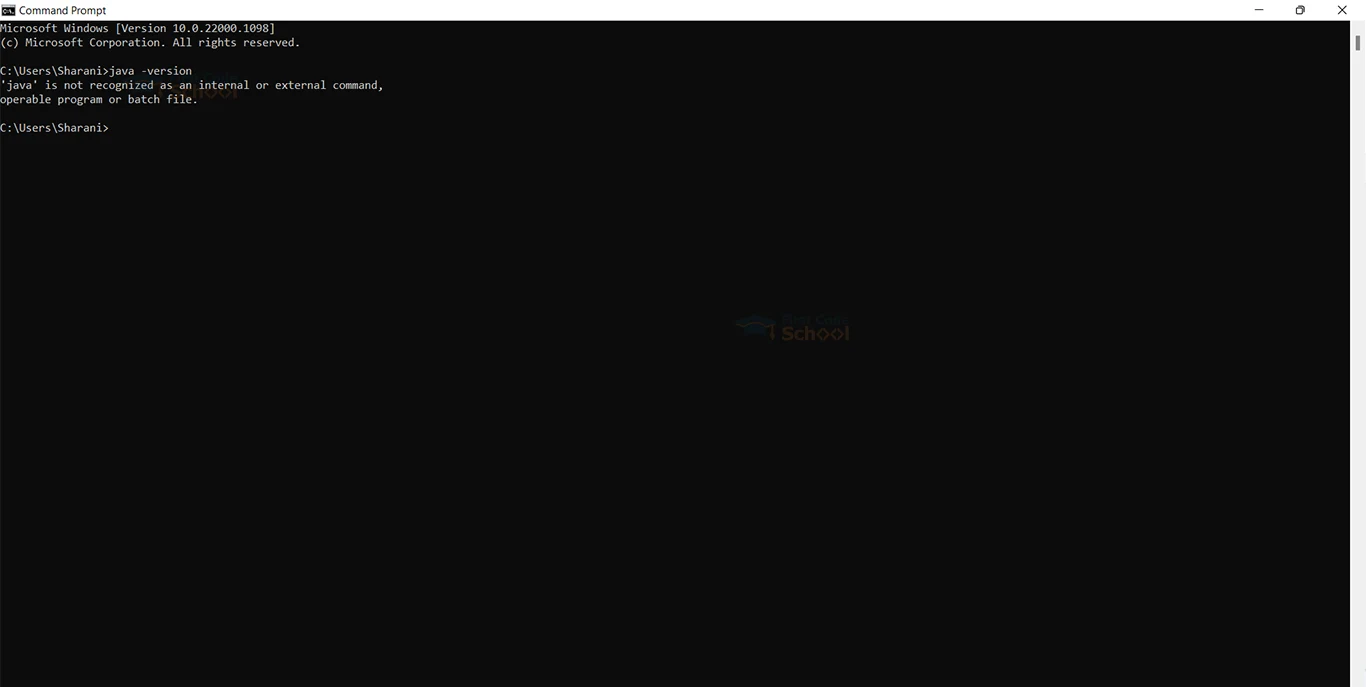
You will get the following error message on the command prompt under two conditions. They are:
- You did not install Java on your computer.
- Or you did not add Java to the system path environment variable.
Error message:
If you have seen the above error message, then follow the steps below to install Java:
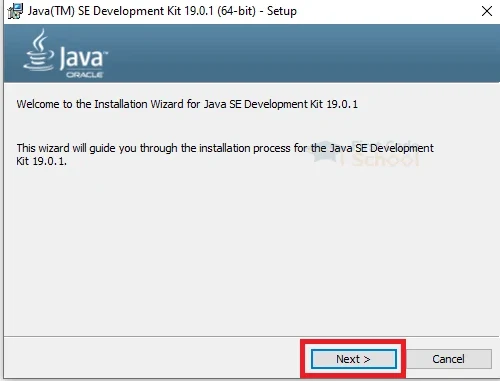
2. After downloading, you can start installing JDK. Double-click on the downloaded file.
3. An installation dialogue box will appear. Click the Next button.
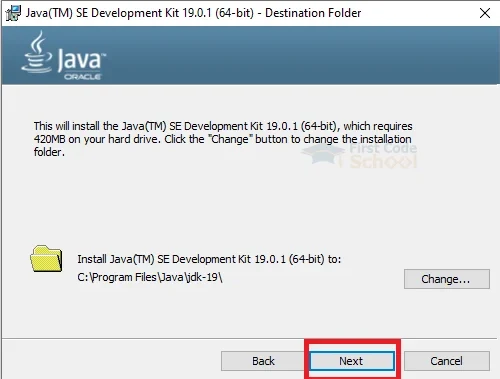
4. Click the Next button in the upcoming dialog box.
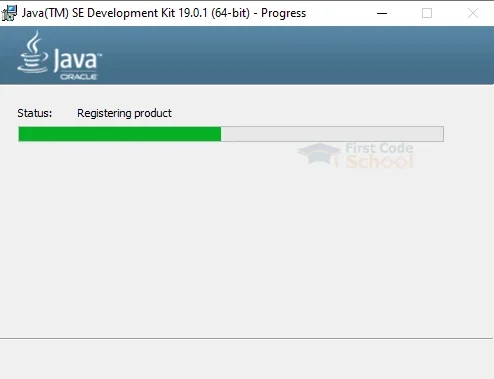
5. The installation process starts. Refer to the images given below.
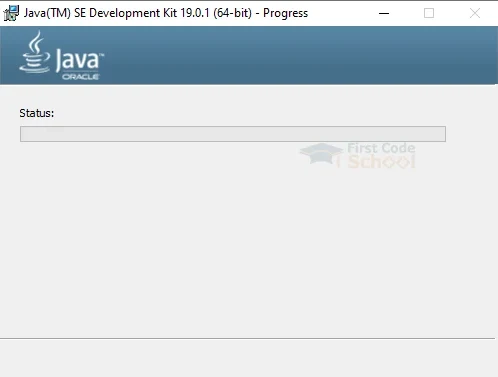
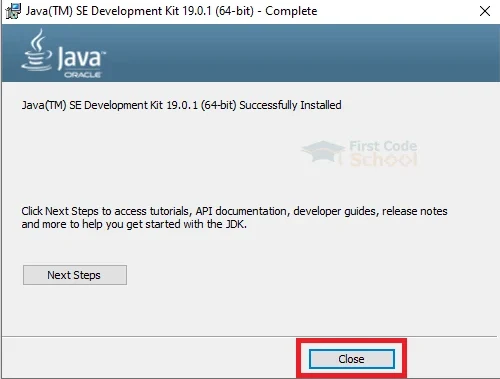
6. After installing JDK click the close button to close the installation window.
7. Now we are going to set java in the system path environment variable.
8. Go to LocalDisk C → Program Files → Java → jdk-17.0.2 →bin
9. Now copy the directory path.
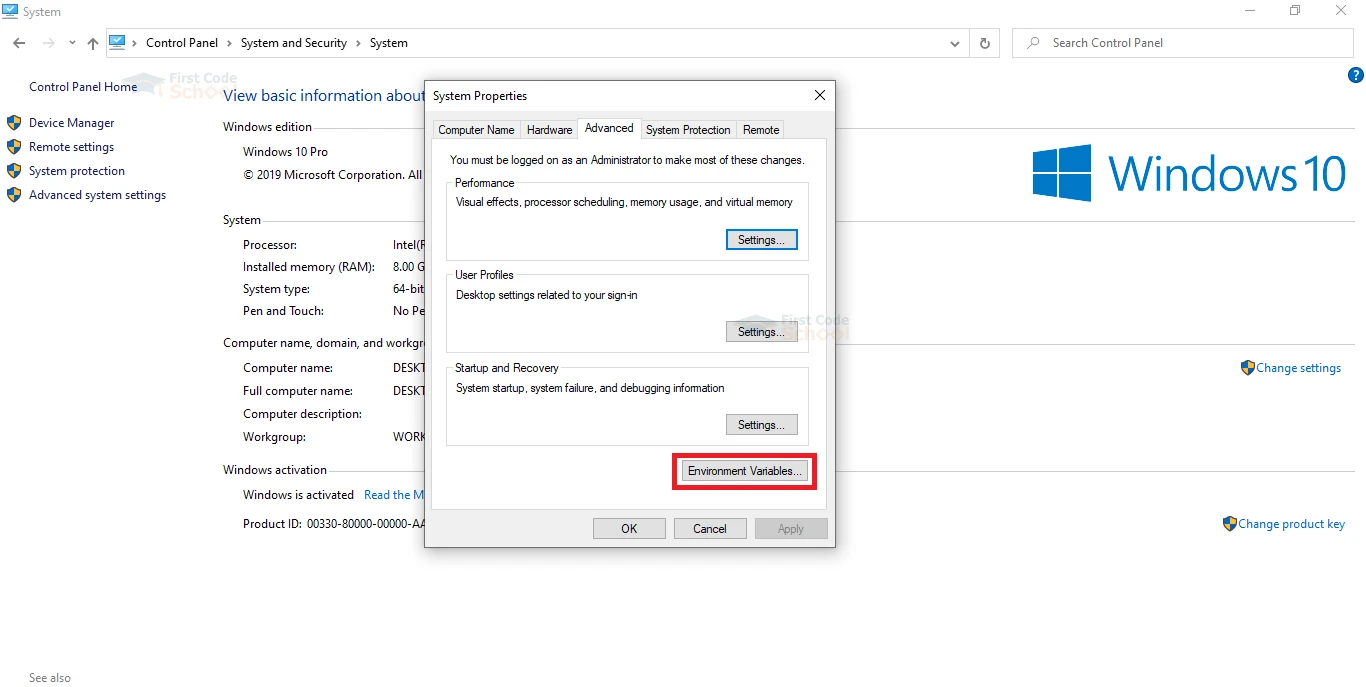
10. On the windows search bar, search for Advanced System Settings and open it. Or go to the control panel →System and Security →System → Advanced System Settings.
11. That opens a system properties dialog box.
12. Click on the Environment Variables button.
13. In the System variable area, select Path and click edit.
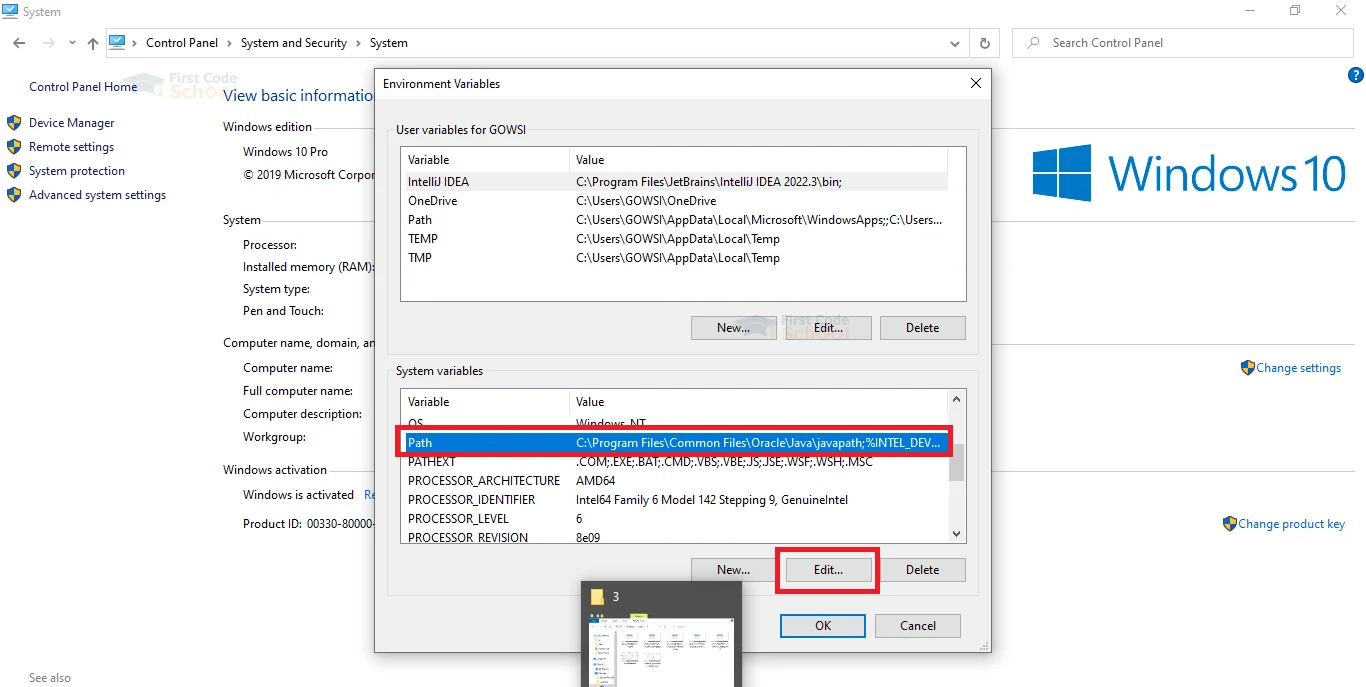
14. Now that opens the Edit Environment Variable dialog box.
15. Click the New button.
16. Now paste the copied directory path in the empty box displayed.
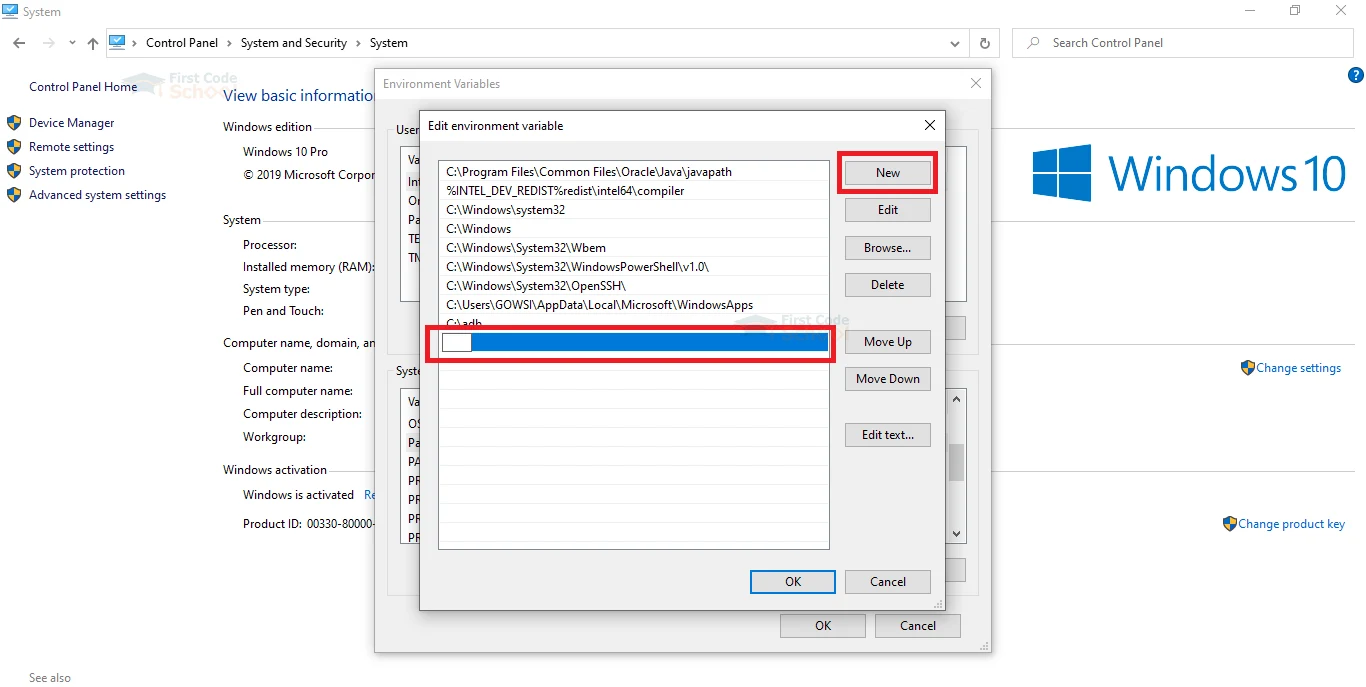
17. Click ok wherever necessary.
Hurray! We successfully installed Java on your computer.
2. Verify Java Version Using the Windows Control Panel:
To check the Java version using the control panel, follow the steps given below:
1. Open the control panel.
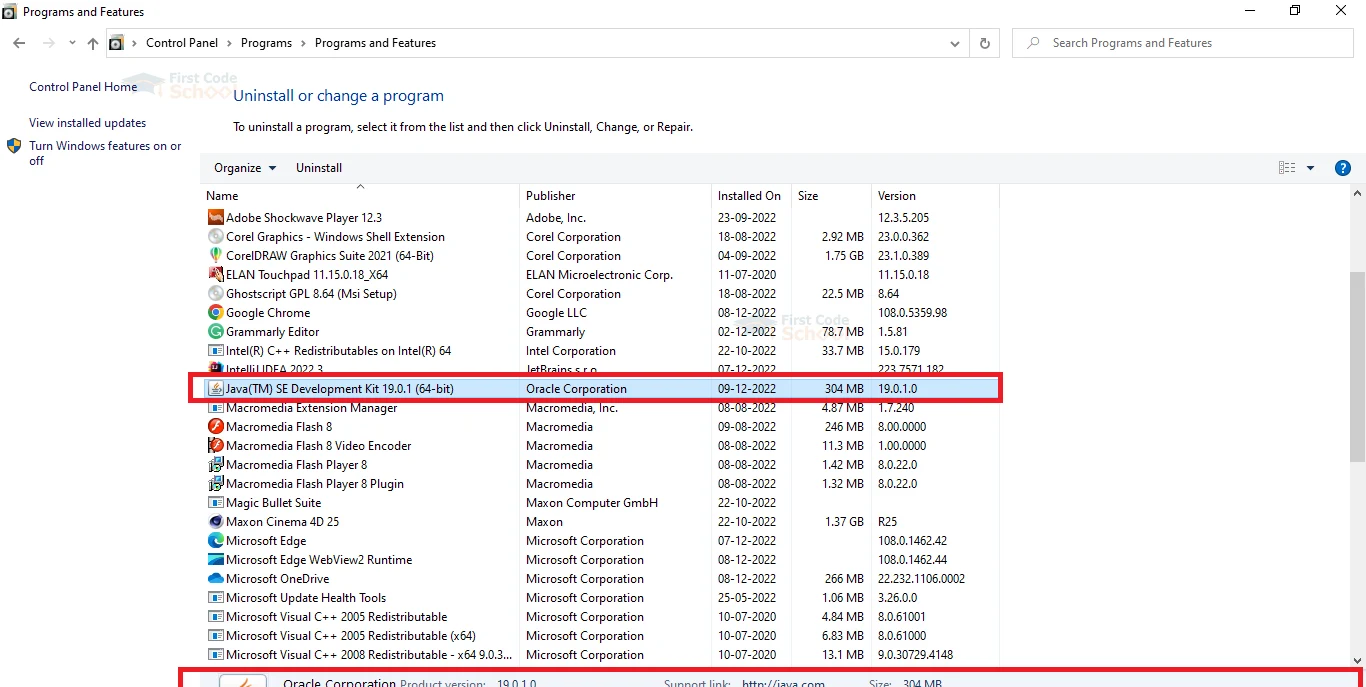
2. Got to Programs→ Programs and Features.
3. Scroll down till you see the Java icon and single-click on it.
The Java version will be displayed at the bottom, as shown below.
3. Verify java Version Using java control panel in Windows, Linux, and Mac:
a. In Windows:
The steps to check the java version using the java control panel in Windows are
1. Open the control panel
2. Click Programs. Now a java icon is displayed.
3. Double-click on the java icon. The Java control panel opens up.
4. Choose the General tab and click the About button.
5. A pop-up window with the details of the java version opens up.
b. In Linux:
The steps to check the java version using the java control panel in Linux are
1. Search and open the java control panel.
2. Choose the General tab and click the About button.
3. A pop-up window with the details of the java version opens up.
c. In Mac:
The steps to check the java version using the java control panel on Mac are
1. Click the apple icon and select System Preferences in the drop-down menu.
2. The System Preferences window opens up.
3. Click the java icon in the System Preferences window. The Java control panel window opens up.
4. Choose the General tab and click the About button.
5. A pop-up window with the details of the java version opens up.
4. Verify java version using a java program:
Generally, We use the get property method to know some information on system properties. The getProperty method in the System class in Java provides the functionality to verify the Java version.
The syntax of the method is:
System.getProperty(String key)
Here the key is an argument, which represents the name of the system property.
For Example:
If you pass the key as os.name, it returns the operating system name in your computer.
Similarly, the keys used to know the Java version are:
java.version
java.runtime.version
java.vm.version
If the key is null, It returns null and throws NullPointerException. If it is empty, it throws an IllegalArgumentException.
Consider the following java code:
/* This a program to verify the java version
File Name: FirstCode.java */
public class FirstCode {
    public static void main(String[] args) {
    System.out.println("Welcome to FirstCode!");
    System.out.println("Java version:"+System.getProperty("java.version"));
    System.out.println("Java runtime version:"+System.getProperty("java.runtime.version"));
    System.out.println("Java virtual machine:"+System.getProperty("java.vm.version"));
    }
}
Output:
Welcome to FirstCode!
Java version:17.0.1
Java runtime version:17.0.1+12
Java virtual machine version:17.0.1+12
5. Checking the java version online:
Check whether you enabled the javascript in your browser.
The steps to check the java version online are
1. Open the oracle verification page.
2. Click the verify java version button.
3. Click the continue button, and don’t forget to accept the agreement before it.
4. Click the run to continue option.
5. Now the website displays the details of the java version.
Summary
In this article, we learned the methods to verify the Java version. I hope you gained some knowledge on installing Java in your system. No more waiting. Jump in and start your Java programming journey.